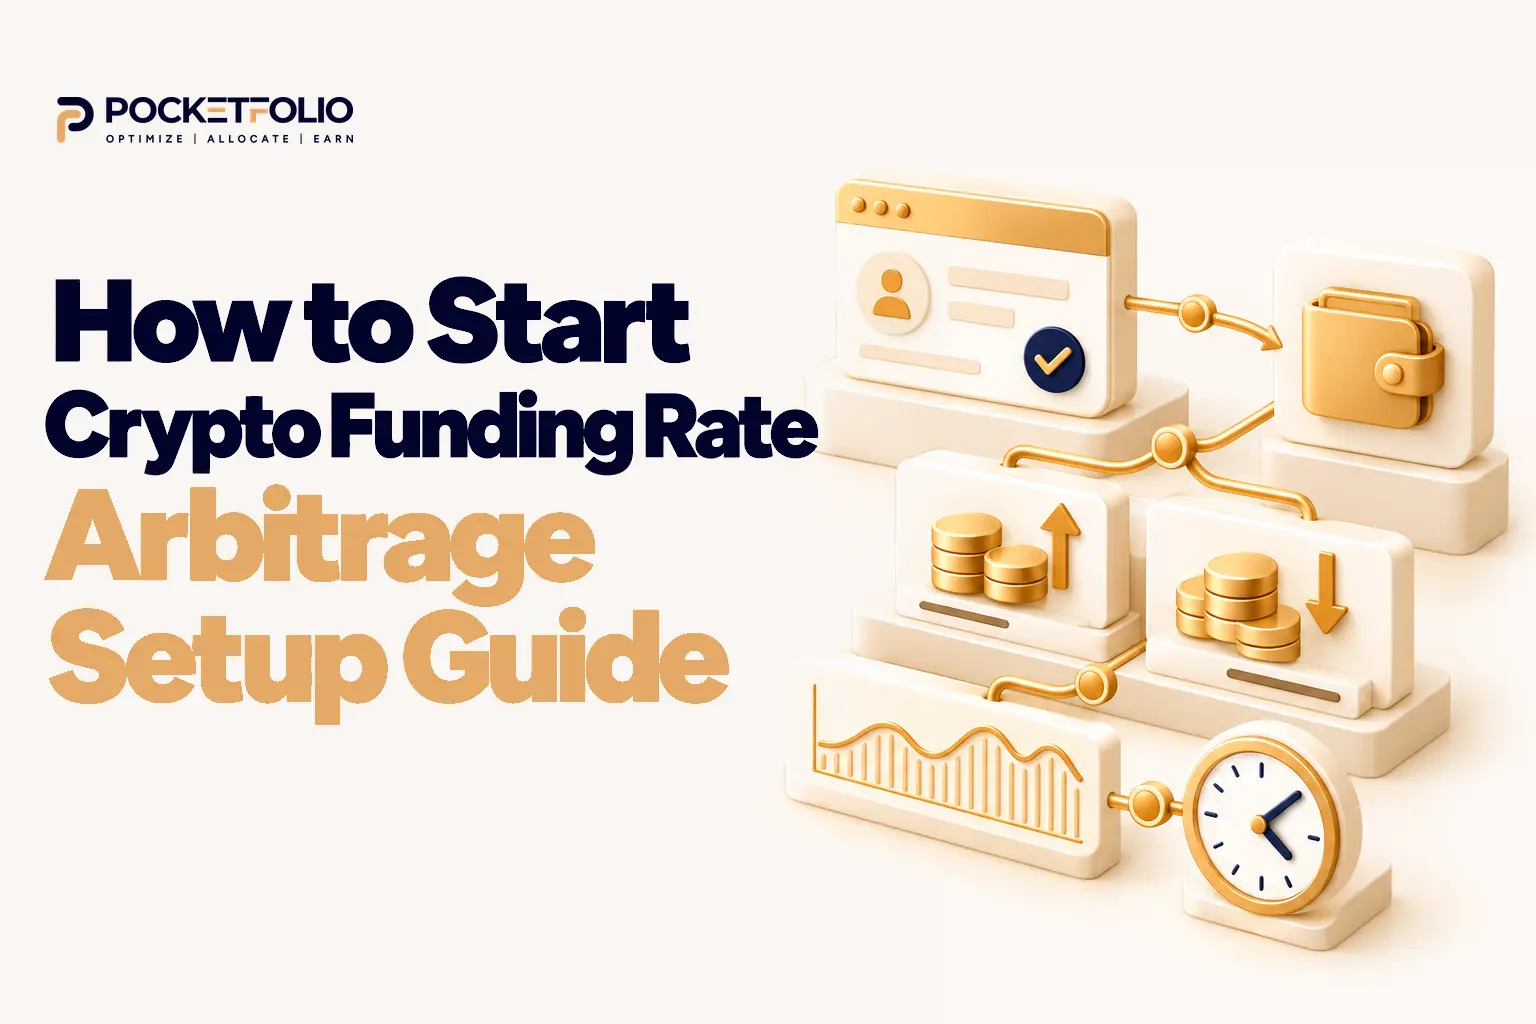
Learning how to start crypto funding rate arbitrage is mostly a setup problem, not a strategy problem. The strategy itself is two orders.
What stops people is everything in front of those orders. Which accounts, enabled how, funded by which route, and what the smallest workable position even is.
Most guides skip that entirely. Of the six most visible guides we read while researching this one, not a single one covers account structure, enabling derivatives, or moving funds between wallets.
They explain the trade, then assume you can place it. This guide covers the part in between.
What You Need Before Your First Trade
Four things, and none of them is the trade itself.
An account that can hold spot and short a perpetual. Depending on the venue and the pair, that may require a specific account type rather than a standard one.
Funds in the right wallet. Money sitting in the wrong wallet on the right exchange is the most common reason a first attempt stalls.
A view of funding rates before you commit. Opening a hedged position without knowing what the rate has been doing is guessing.
A position size the venue will actually accept. This is where published minimums mislead, and it gets its own section below.
Work through those in order and the trade becomes mechanical. Skip one and you will find out which at the worst moment.
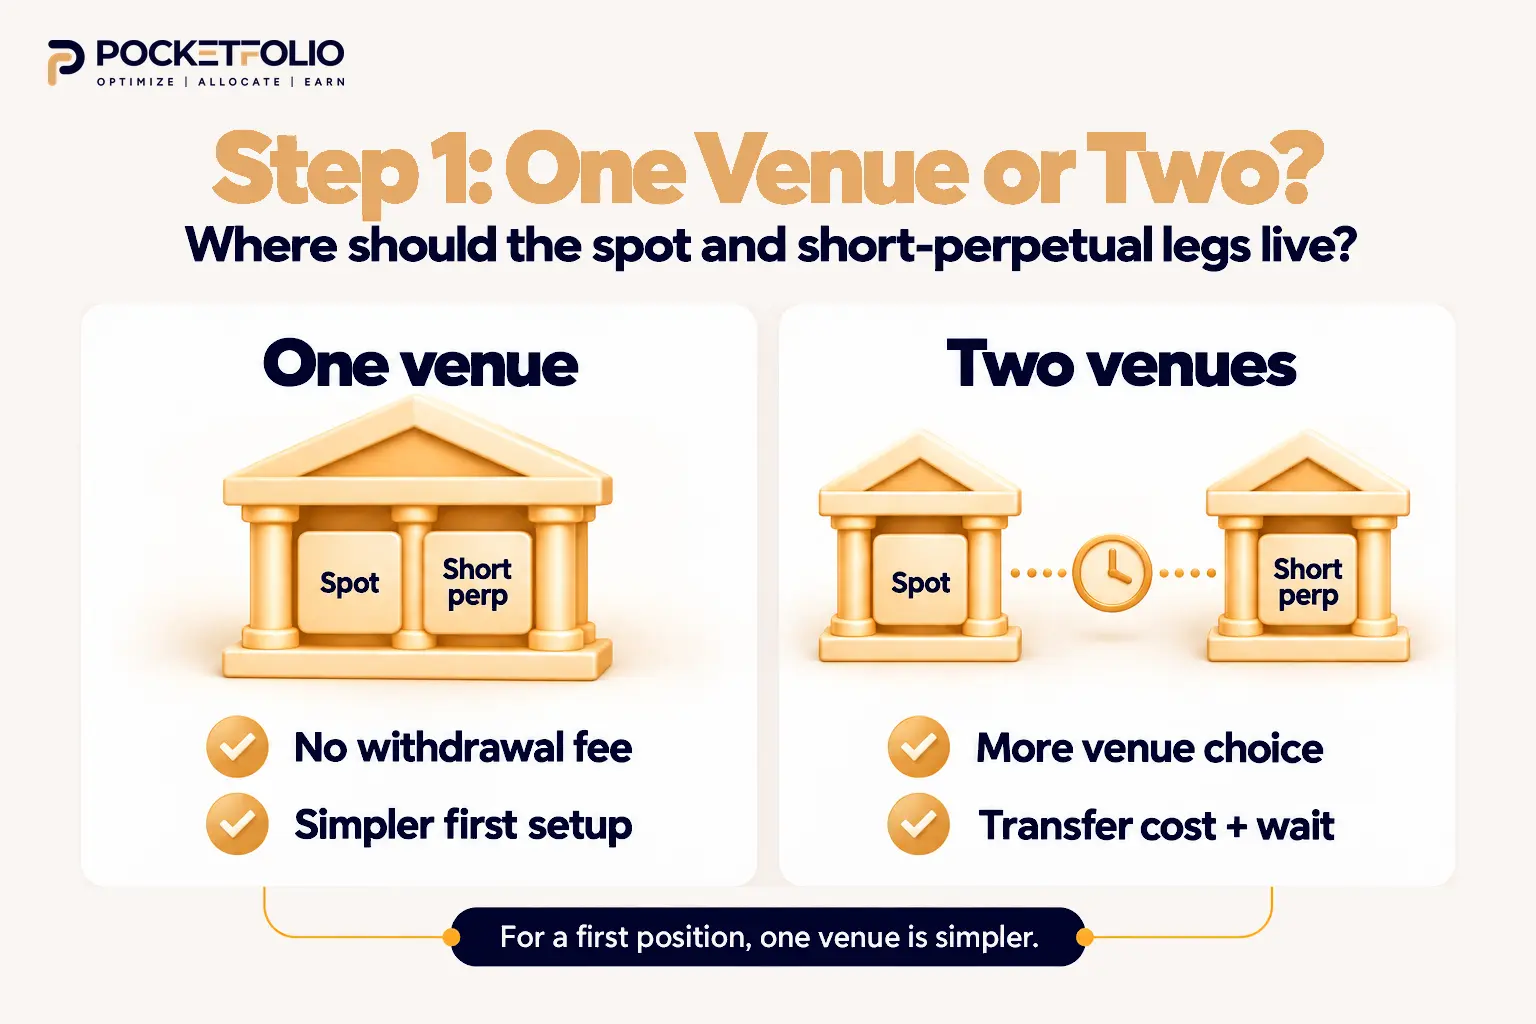
Step 1: Decide Whether Both Legs Live on One Exchange
This is the first real decision and it changes everything downstream.
The trade is delta neutral, holding spot while shorting the matching perpetual. Those two legs can sit on one venue or on two.
One venue removes transfer cost entirely. No withdrawal fee, no network choice, no waiting for confirmations, and no capital stranded mid-transfer while a rate moves.
Two venues let you pick the best rate on one side and the best spot price on the other. That flexibility is real, and it costs you a withdrawal fee plus the time the transfer takes.
For a first position the single-venue route is simpler, and the simplicity is worth more than the basis points. You can always split across venues once the mechanics are familiar.
Our guide to CEX vs DEX for crypto funding rate arbitrage covers the venue-type decision underneath this one.
Why the single-venue route is cheaper than it looks
Published withdrawal costs put a USDT transfer on Tron at roughly 1 to 1.6 USDT. Ethereum charges a similar flat fee, or network gas that has ranged from a few dollars to twenty.
That is small against a large position and significant against a small one. The fixed cost is what makes small accounts hard, because it does not shrink with your position.
So the single-venue structure is not just simpler. It removes the one cost that punishes beginners hardest.
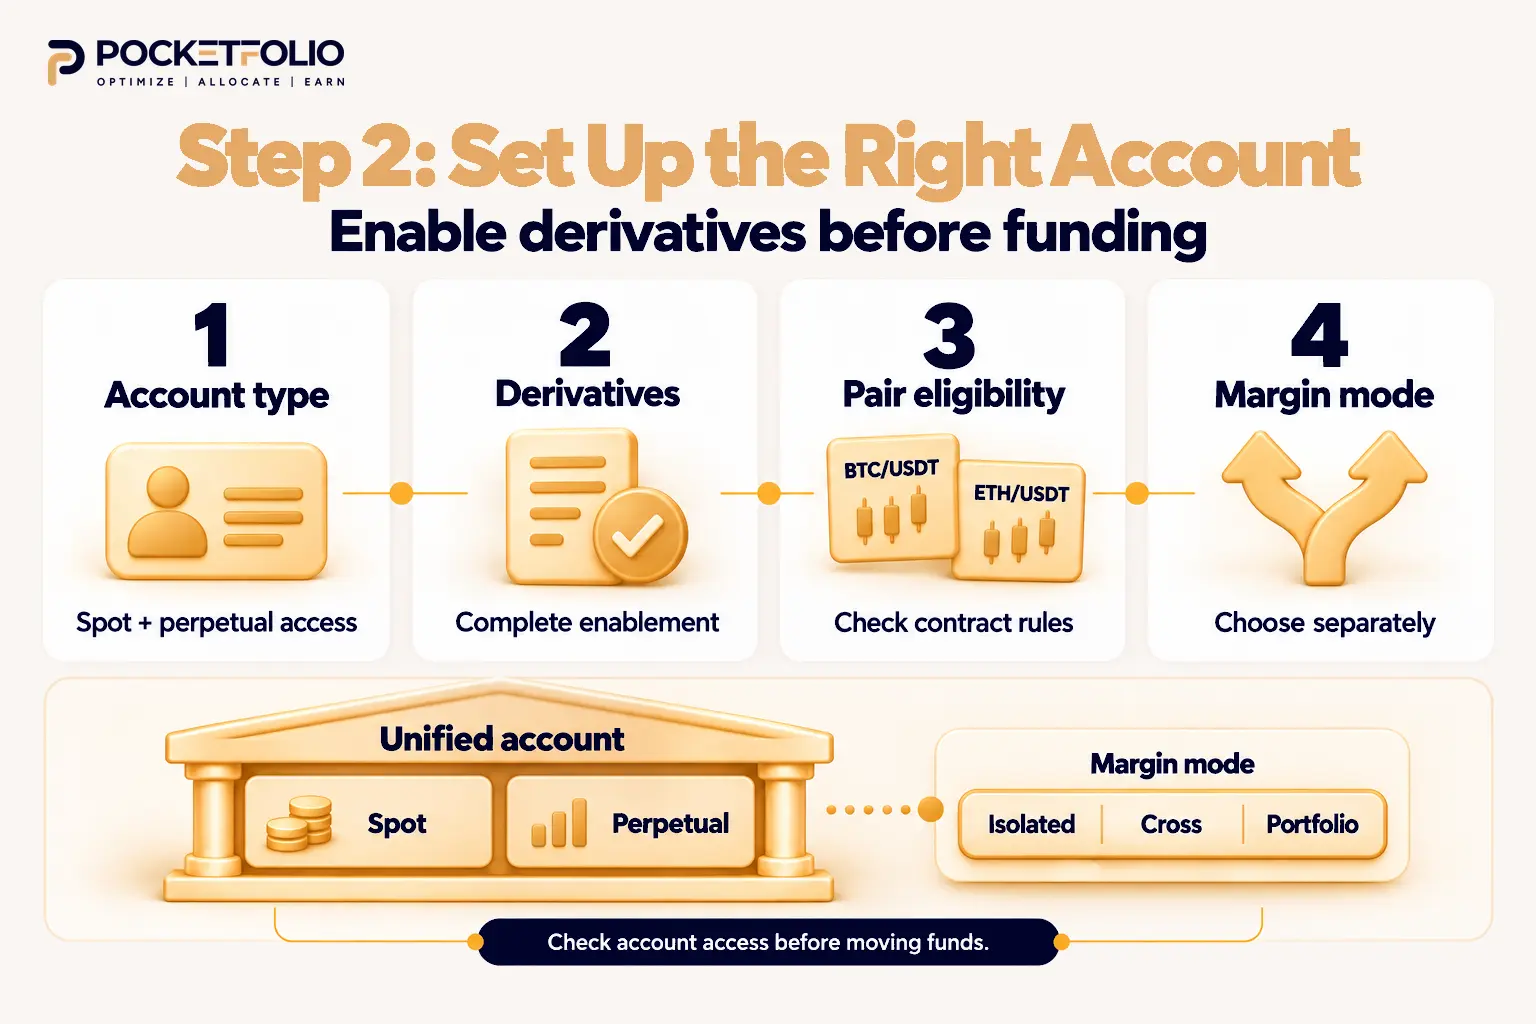
Step 2: Open the Right Account Type and Enable Derivatives
A standard spot account cannot short a perpetual. This is where most first attempts actually stop.
Exchanges separate spot trading from derivatives, and derivatives usually require a separate enablement step, often with its own agreement and sometimes a short questionnaire.
Some venues go further and gate the pair itself. Bybit’s spot BTCUSDT instrument reports that margin trading on it is available only inside the Unified Trading Account, not a standard one.
That is not a detail you can guess at. It is published in the contract specification, and it determines whether your intended structure works on the account you just opened.
What enabling a derivatives account involves
Opening a derivatives account is usually a short process, but it is a deliberate one rather than something that happens automatically with registration.
Expect an agreement to accept, and on many venues a brief questionnaire about trading experience. Some jurisdictions require an appropriateness assessment before perpetuals become available at all.
Your verification level can also gate it. Raising a verification tier can take anywhere from minutes to days, depending on the venue and the documents. That is a poor thing to discover on the day you wanted to trade.
So do this step early, before funding and well before you have a rate you want to act on.
What a unified account changes
A unified or portfolio margin account holds one collateral pool that both legs draw on, rather than separate spot and derivatives balances.
The practical effect is that you stop moving money between internal wallets before every adjustment. For a hedged position that you will rebalance, that is a meaningful reduction in handling.
Check the account type before funding, not after. Switching account modes on some venues requires closing positions first, which is an awkward thing to discover with a live hedge on.
Margin mode is a separate choice
Enabling derivatives is not the same as choosing how margin behaves. Isolated margin confines risk to the one position, while cross margin lets your whole balance defend it.
Both are defensible for a hedged trade and the choice has real consequences. Our guide to how crypto funding rate arbitrage actually works covers margin mode alongside order types and leg sequencing.
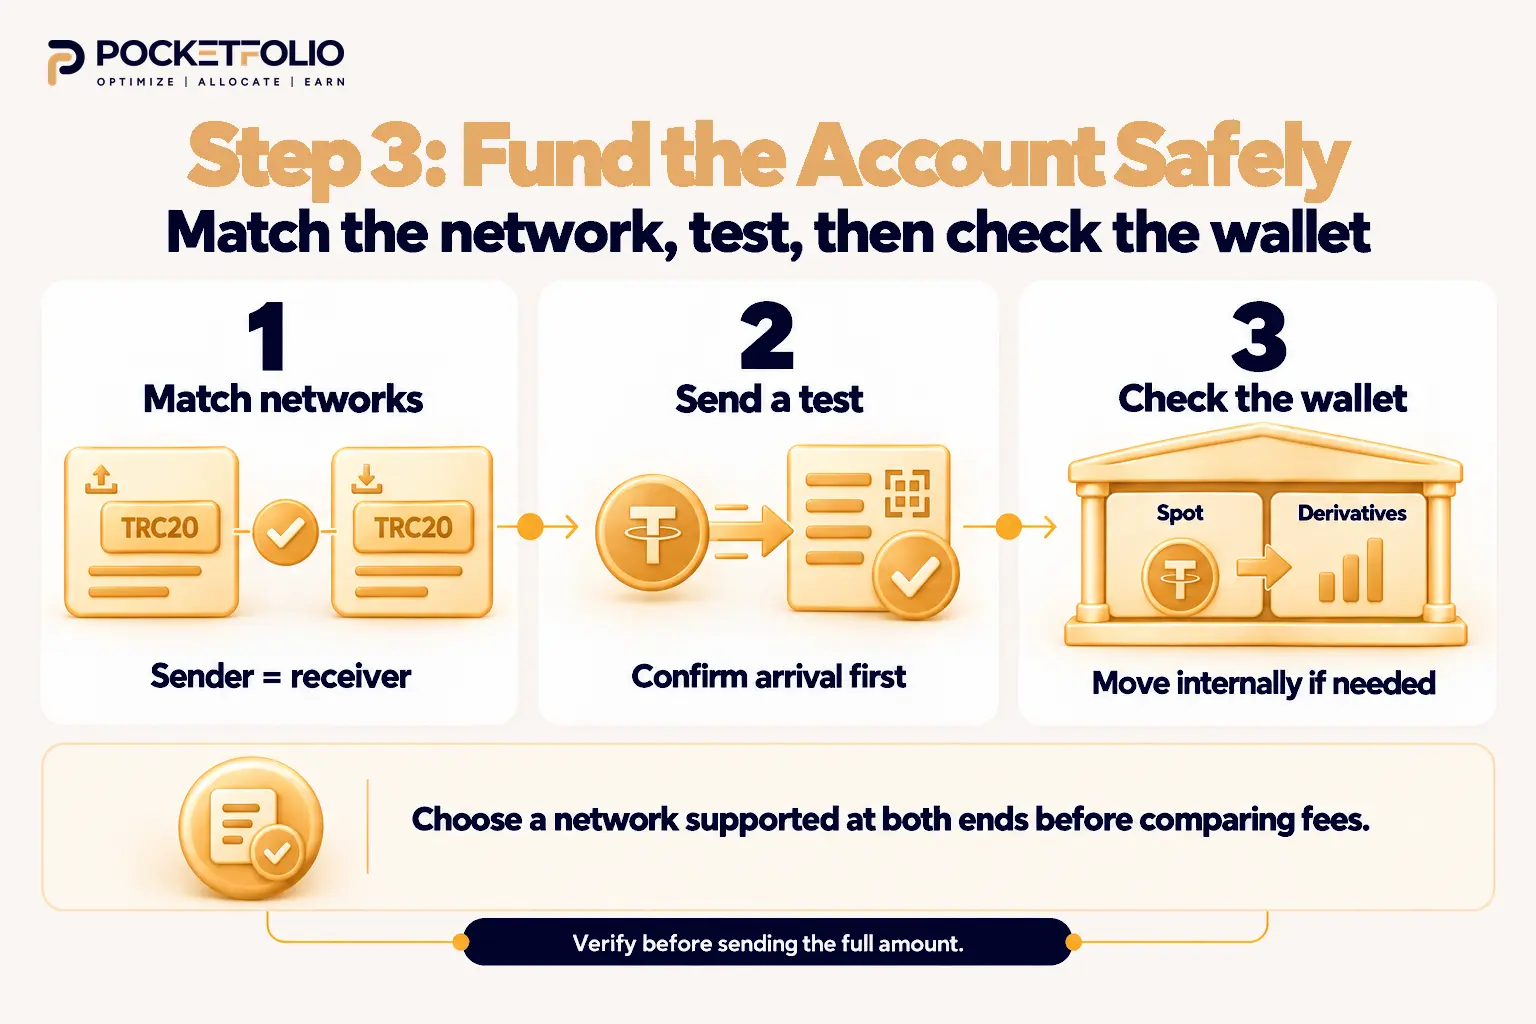
Step 3: Fund the Account and Pick the Transfer Network
Getting money onto the exchange is where avoidable losses happen, and almost all of them come from one of two mistakes.
The network has to match on both ends. Sending USDT on one network to an address generated for another is the classic way to lose a deposit permanently.
Send a test transfer first. A small amount, confirmed arrived, before the rest follows. The fee on a test transfer is the cheapest insurance in this entire process.
Once funds land, check which internal wallet they are in. On venues that separate spot and derivatives balances, a deposit often arrives in one and your perpetual leg needs the other.
Choosing between networks
Tron and Ethereum are the usual options for USDT, and the choice is mostly about cost rather than anything else.
Tron’s published fee sits around 1 to 1.6 USDT and is predictable. Ethereum’s cost depends on network conditions and has ranged widely, so the same transfer can be cheap or expensive depending on when you send it.
For funding a trading account, predictability is worth more than the occasional cheap window.
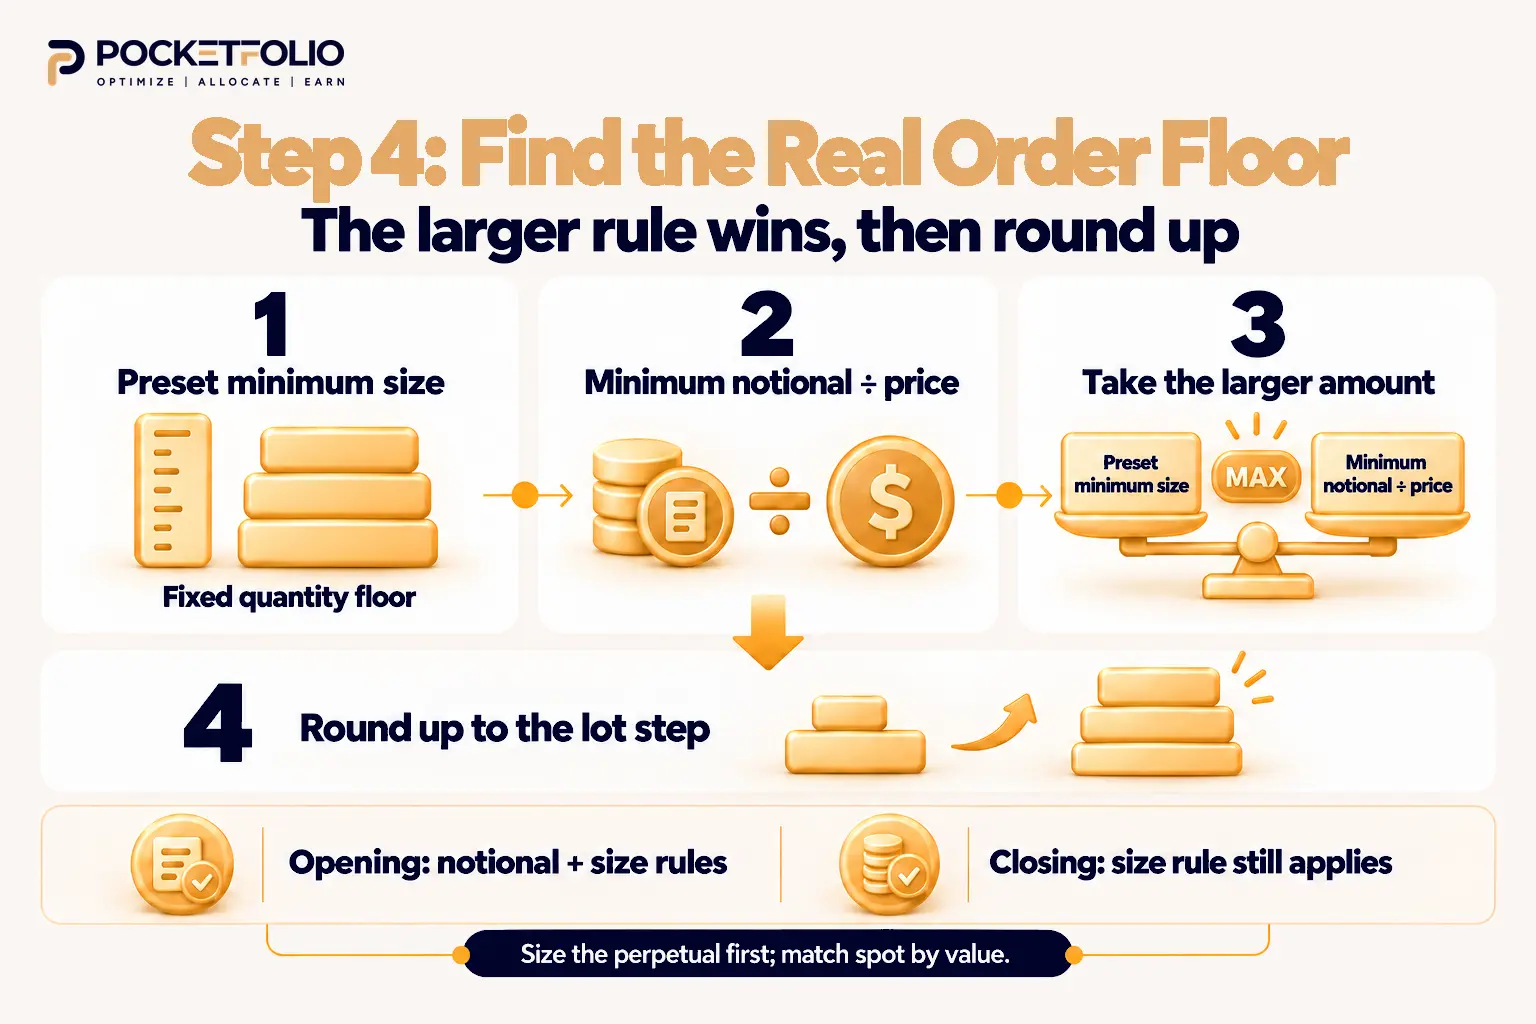
Step 4: Work Out the Smallest Position the Venue Will Accept
Here is the part that published guides get wrong, including every one we read for this article.
Exchanges state a minimum order value, and traders reasonably assume that is the floor. On Bybit that figure is 5 USDT, confirmed on both its published contract parameters page and its API.
It is almost never the real constraint on a major pair. The lot step is, because the contract trades in fixed increments and one increment is usually worth far more than the stated minimum.
Bybit publishes the rule it applies, and it works in three moves. Take the preset minimum order size, then divide the minimum notional value by the order price, then use whichever of those two is larger.
Then round up to the precision of the minimum order size. That rounding step is why the amount you actually commit is usually above both published figures rather than equal to either.
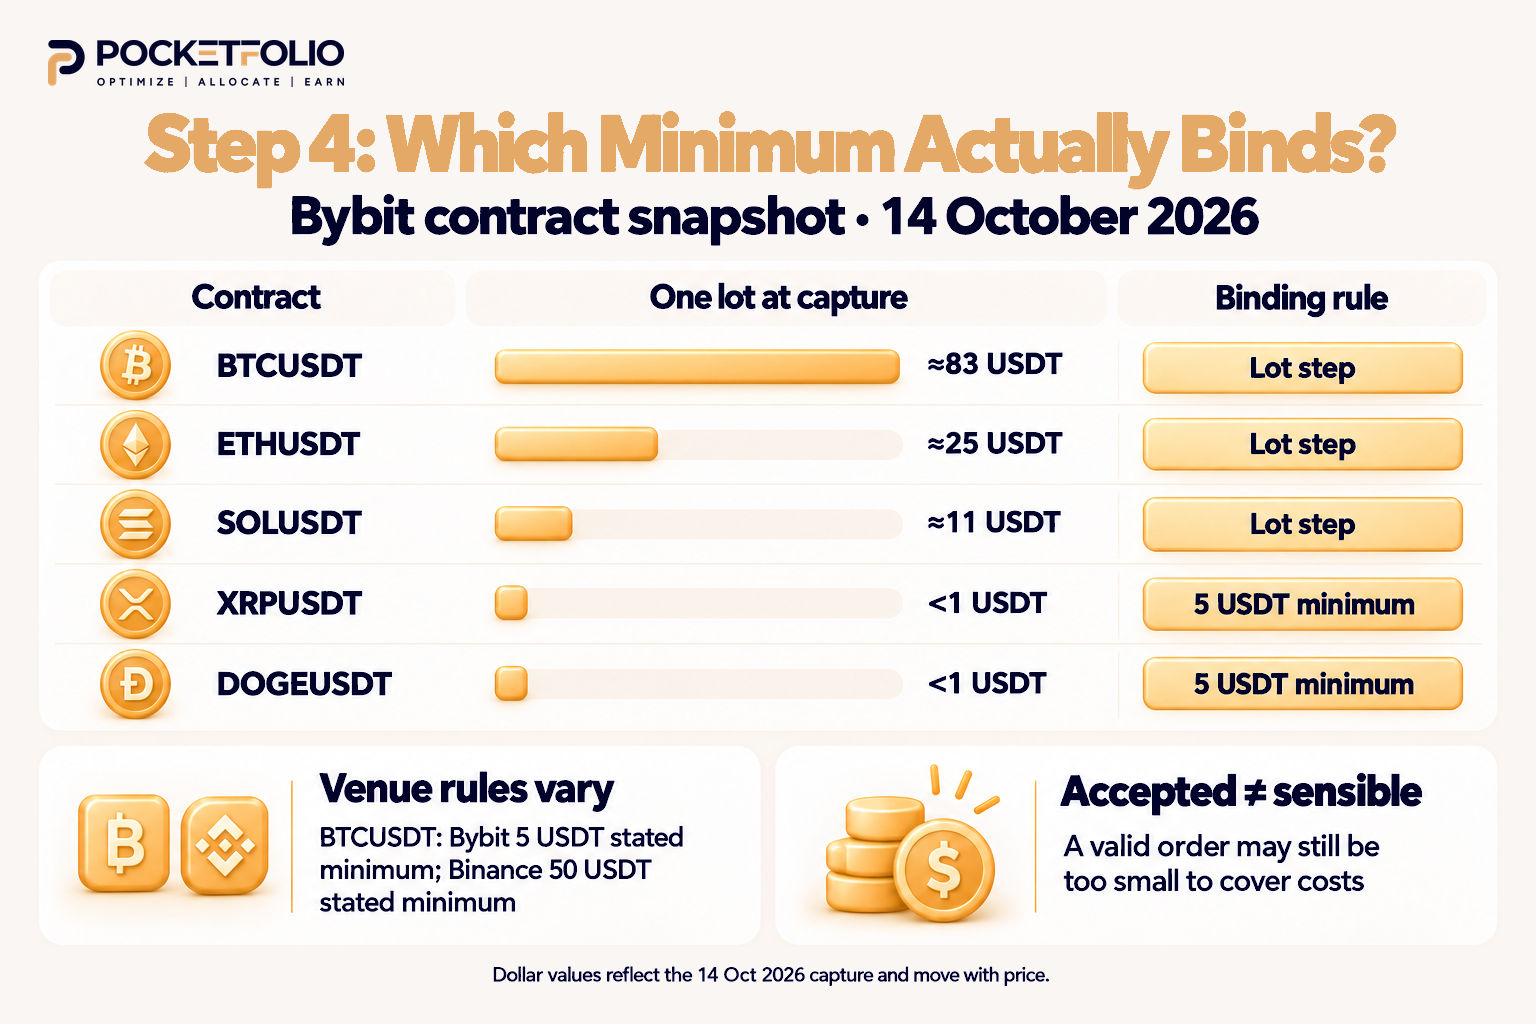
We pulled the specifications directly on 14 October 2026 to show the gap:
| Contract | Lot step | Step value at capture | Stated minimum | What actually binds |
| BTCUSDT | 0.001 BTC | about 83 USDT | 5 USDT | Lot step, roughly 17 times the stated figure |
| ETHUSDT | 0.01 ETH | about 25 USDT | 5 USDT | Lot step |
| SOLUSDT | 0.1 SOL | about 11 USDT | 5 USDT | Lot step |
| XRPUSDT | 0.1 XRP | under 1 USDT | 5 USDT | Stated minimum |
| DOGEUSDT | 1 DOGE | under 1 USDT | 5 USDT | Stated minimum |
Dollar values are a snapshot at capture and move with price. The lot steps themselves are stable contract parameters.
Why this matters more for a hedged position
The two legs have to match in notional value, or the hedge is not actually flat.
Bybit’s spot BTCUSDT accepts a minimum quantity of 0.000001 BTC, while the perpetual steps in 0.001 BTC. The perpetual leg is roughly a thousand times coarser.
The coarser leg sets the floor for the pair. Your first BTC position cannot be smaller than one perpetual lot, whatever the spot side or the 5 USDT minimum would allow alone.
Venues disagree, by a lot
Binance’s BTCUSDT perpetual requires a 50 USDT notional, ten times Bybit’s figure on the same exposure. Binance also varies the figure by contract, listing 20 USDT on ETHUSDT and 5 USDT on several others, while Bybit applies the same 5 USDT across the board.
So “the minimum” is not a property of the strategy. It is a property of the specific contract on the specific venue, and it is worth reading before you decide where to open.
Read the parameters page, not the worked example
One trap worth naming, because it will catch anyone who checks this themselves.
Bybit’s help centre illustrates the minimum-order formula using 100 USDT as a minimum notional value and a 60,000 USDT Bitcoin price. Both are illustrative figures inside a teaching example, not live parameters.
The live figure is on the contract parameters page, which lists 5 USDT for BTCUSDT and every other USDT perpetual we checked, matching the API exactly.
Whenever a help article and a parameters table disagree, the parameters table is the one the matching engine uses.
The floor that applies when you open does not apply when you close
This asymmetry is published and almost never mentioned, and it matters specifically to a hedged position.
Bybit’s rules state that closing orders are not restricted by the minimum notional value, though they remain subject to the preset minimum order size.
So the constraint is tighter going in than coming out. You can exit a position in increments the venue would not have let you open.
That is useful for unwinding one leg at a time. It also means a partial exit is less constrained than beginners assume, which is worth knowing before you need it.
How to size to the lot step in practice
The order of operations matters here, and doing it backwards is what produces rejected orders.
Size the perpetual leg first, because it is the coarser one. Round to a whole number of lots, then read off the notional value that gives you.
Then match the spot leg to that notional, not to a round dollar figure you had in mind. Spot usually accepts much finer increments, so it can absorb whatever number the perpetual leg produced.
Doing it the other way round leaves you with a spot position the perpetual cannot match, and a hedge that is flat in intention but not in value.
The venue minimum is not the sensible minimum
One lot of a BTC perpetual is a position the exchange will accept. It is not a position worth opening.
At Bybit’s VIP 0 schedule, the spot maker fee is 0.10% and the perpetual maker fee is 0.02%. A hedged trade needs four fills in total, opening and closing both legs, which comes to about 0.24% of notional on maker orders.
That cost is proportional to position size, so it does not get cheaper on a small position. Your income, meanwhile, depends on funding rates that are usually small.
So the smallest tradeable position and the smallest sensible position are different numbers, and the gap between them is wide. Our guide to how much capital you need for crypto funding rate arbitrage works through where the sensible floor actually sits.
Check your fee tier before sizing. A taker round trip costs noticeably more than a maker one on the same position. So limit or market orders change the arithmetic as much as position size does.
Step 5: Set Up Rate Monitoring Before You Open Anything
Opening first and watching second is backwards, because the thing you are selling is a rate that changes.
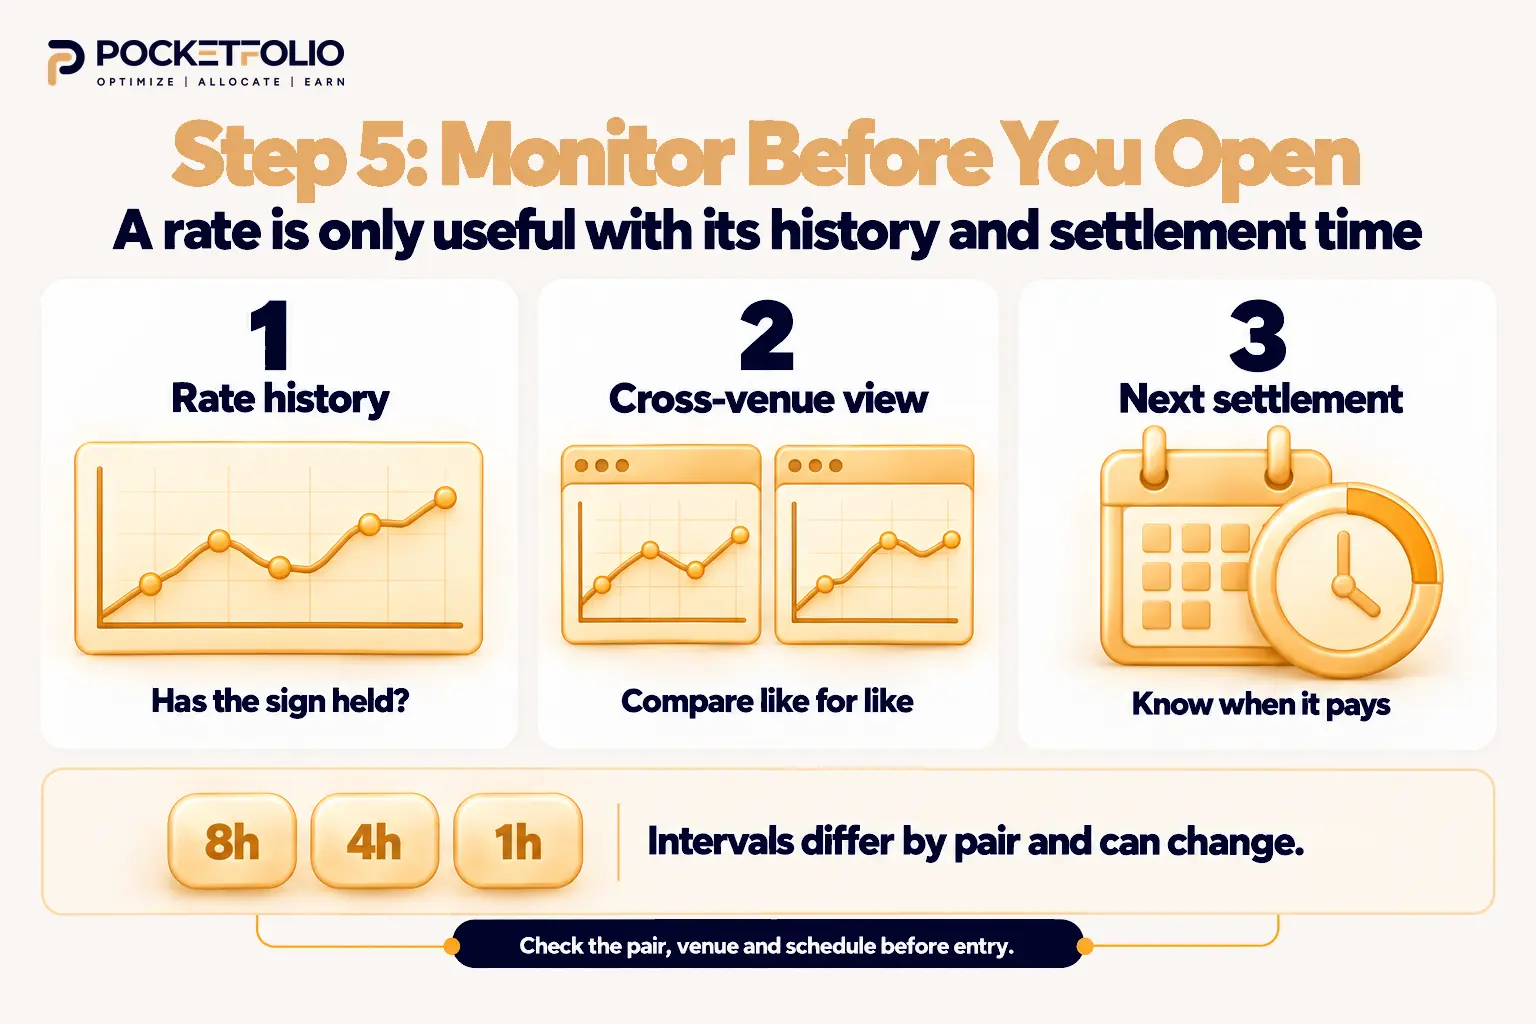
Before a position exists you want to know what the rate on your intended pair has been doing, how it compares across venues, and when it settles.
Settlement timing is pair-specific, not universal. The common assumption that funding settles every 8 hours everywhere is out of date. Bybit runs 480, 240 and 60 minute intervals across its contracts, and Binance runs 8 hour, 4 hour and 1 hour schedules.
Our guide to how to read a crypto funding rate history chart covers what a rate series can and cannot tell you.
Watching one pair on one venue is manageable by hand. Watching enough pairs across enough venues to find a good entry is not, which is the problem the next section is about.
Where Pocketfolio Fits Into Starting
Steps 1 through 4 are account admin and you do them once. Step 5 never stops, and it is the part that does not scale by hand.
The exchanges do not help here. Each publishes its rates, settlement schedule and contract specifications in its own format, in its own place, on its own clock.
Pocketfolio’s DIY Trading Scanner, a crypto funding rate arbitrage scanner covering 50+ exchanges, puts live funding rates from those venues in one normalised view.
For someone starting out, the value is less about finding the best rate than about seeing the spread. The spread is what tells you whether an opportunity is real or just one venue being unusual.
Once you have judged a trade worth taking, the Smart Yield Pool handles execution automatically. That removes the leg-sequencing and notional-matching work that catches most beginners on a manual entry.
Neither removes anything in this guide. You still need the right account type, funds in the right wallet, a position above the lot step, and the fee arithmetic working in your favour. A scanner shows you a rate; it does not make a thin market deep or a small position economic.
What it does remove is the reason most people’s first attempt goes badly, which is deciding on one venue’s number without seeing the other fifty.
Setup Mistakes That End a First Attempt
These are setup failures rather than strategy failures, which is why the existing guides do not catch them.
Funding a standard account and then discovering the pair needs a unified one. Check the contract specification before depositing.
Money in the spot wallet, position needed in derivatives. An internal transfer, not a deposit, and easy to miss when the balance reads correctly on the account overview.
Sending USDT on a network the receiving address does not accept. Usually unrecoverable, and the reason a test transfer is worth its fee.
Sizing from the stated minimum notional rather than the lot step. The order gets rejected, or rounds to a size that breaks the notional match between legs.
Matching quantity instead of value. The legs need equal notional, and equal quantity only achieves that when both legs are the same asset at the same price.
Opening before checking the settlement interval. You can hold a position through a settlement you did not know was coming, on a schedule you assumed was 8 hours.
Our guide to 5 common mistakes in crypto funding rate arbitrage covers the strategy-level errors that come after these.
How to Start Crypto Funding Rate Arbitrage: The Steps in Order
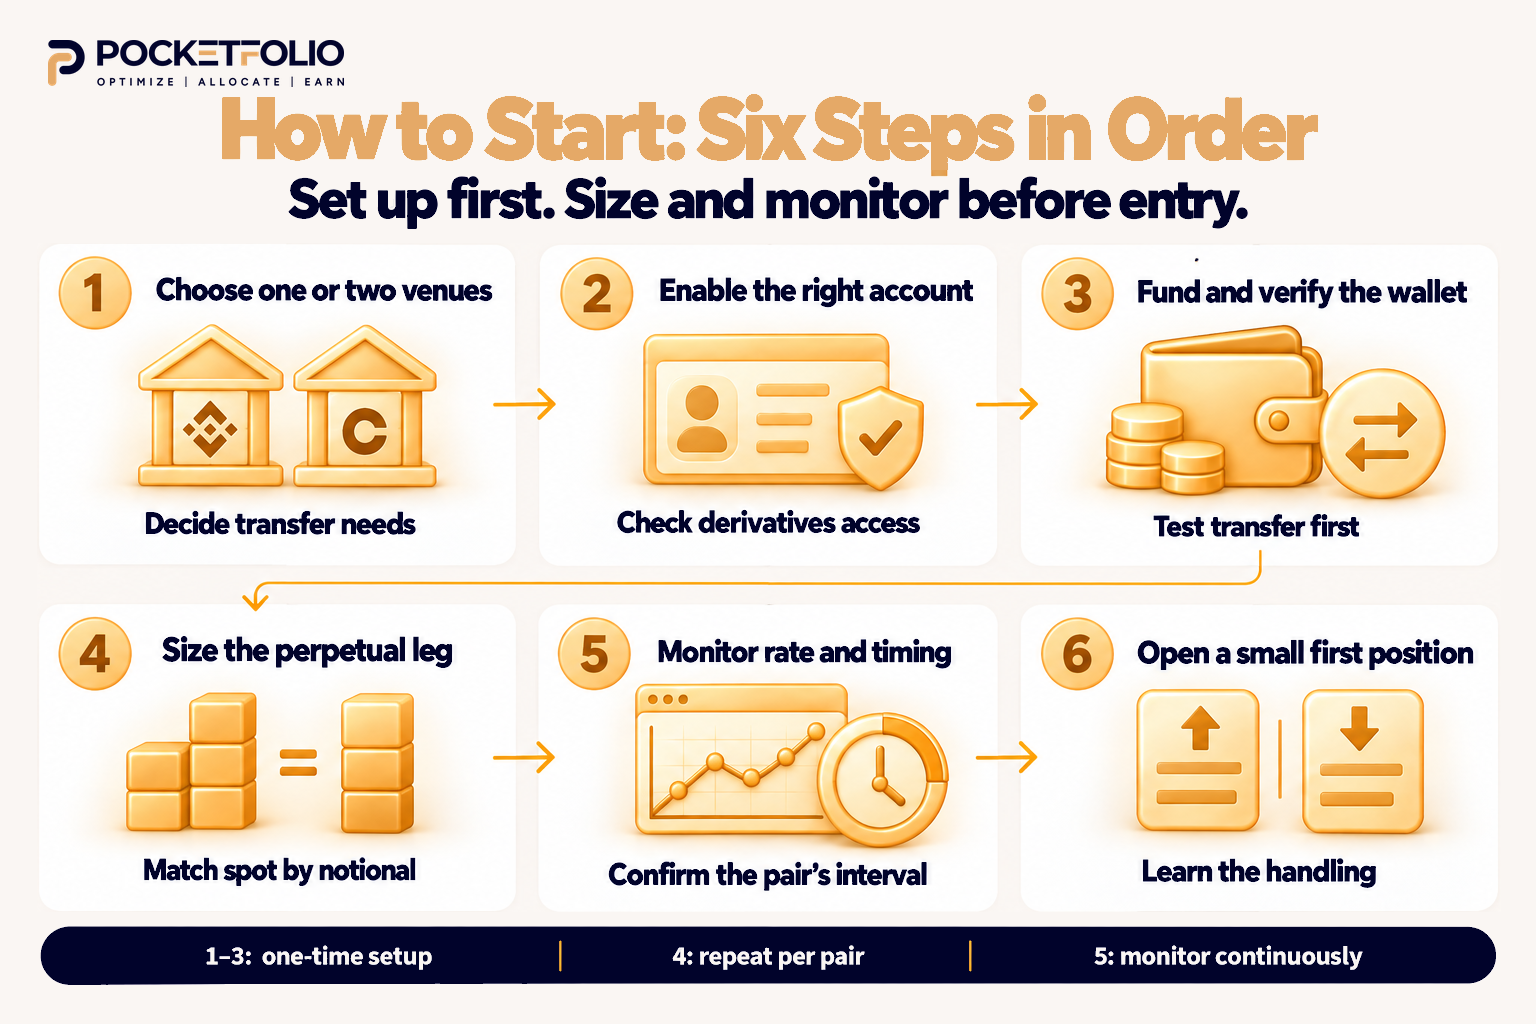
The whole sequence, compressed, so you can work through it as a checklist.
| Step | What you decide or do | Why it comes here |
| 1 | One venue or two | Sets whether transfer cost and network choice apply at all |
| 2 | Open the account type the pair requires, enable a derivatives account | Some pairs are gated to unified accounts; enablement can take days |
| 3 | Fund it, test transfer first, confirm which wallet holds the money | A deposit in the wrong wallet looks correct on the overview |
| 4 | Round the perpetual leg to whole lots, match spot to that notional | The lot step, not the stated minimum, sets the real floor |
| 5 | Watch the rate and confirm the settlement interval for your contract | Intervals vary by contract, so the 8 hour assumption is unsafe |
| 6 | Open at a size where a mistake is affordable | The first position teaches you the handling, not the strategy |
Steps 1 through 3 are one-time account work. Step 4 repeats per pair, and step 5 never stops.
What to Read Next
This guide stops at the point your first order is ready. Three posts pick it up.
For placing the trade, how crypto funding rate arbitrage actually works covers order types, which leg to open first, and notional matching precision.
For the economics, how to make money with crypto funding rate arbitrage covers the full cost stack. It also covers how long you must hold before the trade clears its fees.
For getting out, when to close a crypto funding rate arbitrage position explains why the rate that justifies holding sits below the rate that justified opening.
If the mechanism itself is still fuzzy, start with what is a funding rate in crypto instead and come back.
Frequently Asked Questions
How do I start crypto funding rate arbitrage as a complete beginner?
Open an account that can trade both spot and perpetuals, enable derivatives, then fund it with a test transfer first. Confirm the smallest position your contract allows and watch the rate before opening anything, because the strategy is two orders and the setup is what takes the time.
Do I need two exchange accounts?
No. Holding both legs on one venue removes withdrawal fees, network choice and transfer delay, which makes it the simpler route for a first position. Two venues add flexibility and a fixed cost that hurts small accounts most.
Why can I not short a perpetual on my account?
Derivatives usually need a separate enablement step beyond opening the account, and some venues restrict a specific pair further. Bybit's spot BTCUSDT reports margin trading as available only inside its Unified Trading Account.
What is a unified trading account and do I need one?
It holds one collateral pool that both legs draw on instead of separate spot and derivatives balances. You need one wherever the pair you want requires it, and it saves repeated internal transfers either way.
Which network should I use to deposit USDT?
Tron's published fee is roughly 1 to 1.6 USDT and is predictable, while Ethereum's cost moves with network conditions. Match the network on both ends and send a small test transfer before the rest.
What is the minimum position size for crypto funding rate arbitrage?
It depends on the contract, not the strategy. Bybit states a 5 USDT minimum, but on BTCUSDT the 0.001 lot step was worth about 83 USDT at our capture, so the lot step binds instead.
Why is the exchange rejecting my order size?
Most often because the size is not a whole multiple of the lot step, or because rounding to the step broke the notional match between your two legs. Check the step before the stated minimum.
Is the venue minimum a sensible size to start with?
No. A single lot is a position the exchange accepts, not one worth opening. A maker round trip over four fills runs about 0.24% of notional at a standard fee tier, while funding income is usually small.
Do funding rates always settle every 8 hours?
No, and assuming so is a common setup error. Bybit runs 480, 240 and 60 minute intervals across its contracts and Binance runs 8, 4 and 1 hour schedules, so check your specific contract.
Should I practise before using real money?
Yes, and the cheapest version is a small real position rather than a simulation, because paper trading does not teach you where the internal transfers and enablement gates are. Start at a size where a mistake is tuition rather than damage.
Sources and Methodology
Contract parameters were read first-hand from exchange public endpoints on 14 October 2026. For Bybit spot and linear perpetual contracts we pulled lot steps, minimum order quantities, minimum notional values, margin-trading eligibility and funding intervals. For Binance USD-margined perpetuals we pulled the lot size and notional filters.
Every Bybit figure was then cross-checked against a second source, its published contract parameters page, which agreed with the API on both the minimum order sizes and the 5 USDT minimum notional value. The minimum-order rule and the closing-order exemption come from Bybit's published trading rules, restated here in our own words rather than reproduced.
The dollar conversions of each lot step use the venue's own last price at the moment of capture. They are a snapshot and move with price, while the lot steps themselves are stable contract parameters.
Published withdrawal costs and the Bybit VIP 0 fee schedule are cited to those venues' own published pages. The fee arithmetic here is our own calculation from that schedule, not a figure quoted from anywhere.
What this guide could not verify
OKX endpoints could not be reached from where this was written, so OKX is described from its published documentation rather than pulled first-hand.
Account enablement flows differ by region and by verification level, and we could not test them across jurisdictions. Treat the account-type requirements here as the pattern to check rather than a universal path.
How the competitive claim was scoped
The statement that no competing guide covers account setup refers to six specific guides read in full for this article, not to the whole field. Five explain the strategy and move straight to placing the trade, and the sixth documents one exchange's own bot.
No figure in this guide is a Pocketfolio rate, yield, return or product metric, and no capital recommendation is stated as a number.